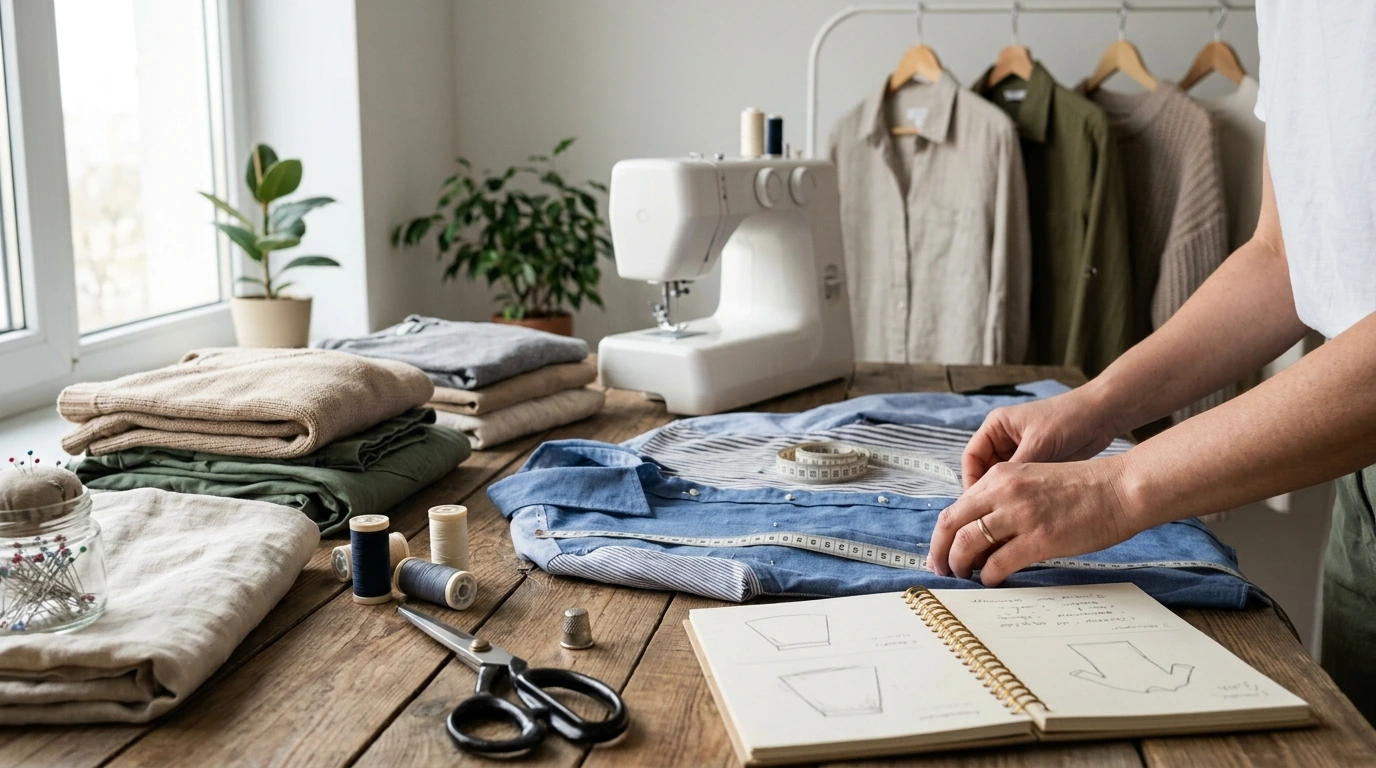
A style makeover doesn’t require a brand-new closet. With a simple planning system and a few reconstruction techniques, existing pieces can become fresh outfits that feel intentional, modern, and personal. This guide lays out a practical way to audit what’s already owned, map outfit gaps, and prioritize DIY upgrades that extend a garment’s life. Expect a mix of styling prompts, low-waste project ideas, and a step-by-step workflow that turns “nothing to wear” into a repeatable process—so wardrobe creativity becomes a habit rather than a one-off burst of motivation.
Reconstructed clothing is the practice of altering, combining, patching, resizing, or reconfiguring existing garments to create a new fit, silhouette, or function. It’s not “craft time” for the sake of it—it’s a practical way to make your wardrobe work better with what you already have.
It feels like a makeover because small structural changes can shift the entire vibe of a piece: a hemline that hits at a better spot, sleeves that look intentional, a waist placement that matches your proportions, or closures that stop gaping and pulling. It also supports sustainability by reducing new purchases and increasing wear time—important in a world where textile waste is a growing issue (see the U.S. EPA textiles data and the Ellen MacArthur Foundation’s textiles work).
Best candidates for reconstruction include items that fit “almost,” pieces with minor damage, duplicates, outdated cuts, or garments with great fabric but a weak shape.
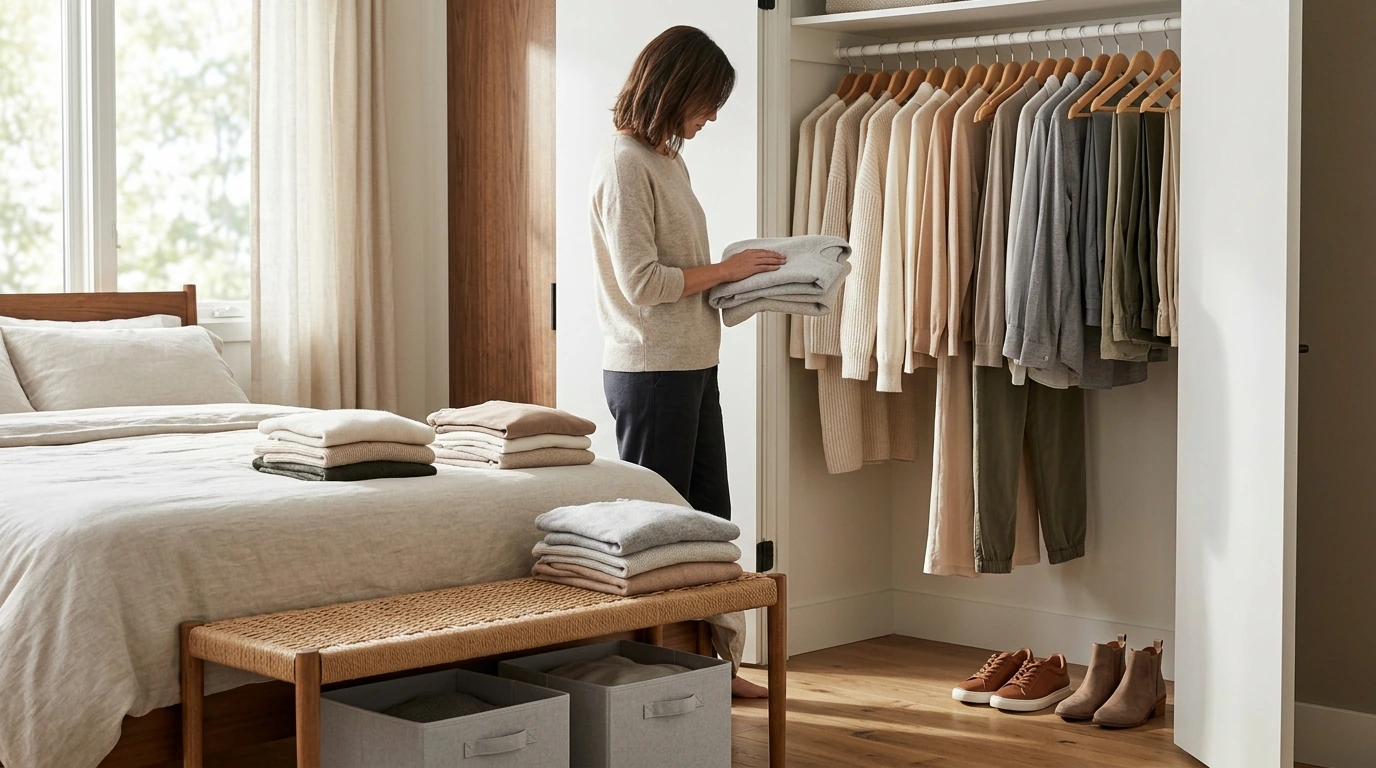
Audit first, because the best DIY results come from fixing the real issue—not just changing something for novelty. Start with four piles: Wear Often, Wear Sometimes, Needs Work, and Ready to Rehome (donate/sell/repair for someone else).
Then name the problem clearly:
Define 2–3 outfit “uniforms” you actually wear (workday, weekend, going out) and list what is missing for each. Finally, choose one makeover goal for the month—something measurable like “3 tops that pair with everything” or “one elevated outfit for events.”
| What’s happening | What it usually means | Reconstruction or styling fix |
|---|---|---|
| Great fabric, poor fit | The shape is fighting the body or the bra/waistline | Take in side seams, add darts, adjust straps, swap buttons/closures |
| Worn out at stress points | High-friction areas need reinforcement | Patch from the inside, add visible mending, reinforce seams, add knee/elbow panels |
| Feels dated but still wearable | Silhouette or proportion is off | Crop/hem, taper legs, change sleeve length, convert to a different neckline |
| Hard to style | Color palette or layering plan is unclear | Create a 3-color palette, plan 5 outfit formulas, add one versatile layer piece |
| Damaged beyond simple repair | Fabric can still be valuable | Harvest for patches, pockets, ties, panels, or combine with another garment |
A planner approach keeps reconstruction from turning into an unfinished pile. The goal is a repeatable workflow: small wins, consistent try-ons, and clean finishing.
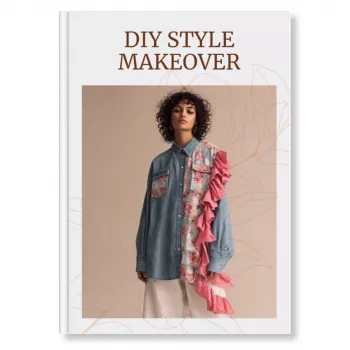
If you want a structured place to capture measurements, sketches, and outfit formulas, use a dedicated worksheet system like DIY Style Makeover | Reconstructed Clothing DIY Planner | Creative Wardrobe Guide & eBook for Fashion Sustainability to keep each project small, trackable, and wearable.
| Time | Tools | Projects | Style impact |
|---|---|---|---|
| 15–30 min | Scissors, pins, iron | Temporary pin-fit, cuff sleeves, knot/clip styling tests | Clarifies silhouette and proportions |
| 60–120 min | Needle/thread or machine, seam ripper | Crop + hem, side seam taper, neckline binding, pocket add-on | Makes basics look tailored and current |
| 2–4 hours | Machine + basic pattern tracing | Panel inserts, full sleeve change, two-garment reconstruction | Transforms the piece into a standout |
Want a fast way to refresh your “basics” category without starting from scratch? A playful graphic tee like Summer Cartoon Print Chic Short Sleeve T-Shirt for Women – Knit Cotton Tee can become a hero piece (crop it, shape the sleeves, or add a side slit). For a more elevated base layer that still works with DIY tweaks, Women’s Short Sleeve Silk T-Shirt pairs well with a minimal palette and polished accessories.
For broader context on why extending garment life matters, Fashion Revolution offers a clear overview of fashion’s impact: Why Fashion Matters.
If you prefer a step-by-step system you can reuse season after season, DIY Style Makeover | Reconstructed Clothing DIY Planner | Creative Wardrobe Guide & eBook for Fashion Sustainability is built for turning wardrobe overwhelm into a clear, repeatable workflow—especially when motivation is high but time is limited.
A 60–120 minute project like a crop-and-hem, sleeve cuff, or simple side-seam taper is the easiest place to start. Pin first, try it on at least twice, and press your seams so the finish looks clean and intentional.
No—many upgrades can be hand-sewn, including hemming, patches, darts, and button swaps. A machine speeds up long seams and works better for heavier fabrics, but it isn’t required to begin.
Use consistent thread color (or a deliberate contrast), keep placements symmetrical, and press every seam. Reinforce stress points and repeat an accent color (from a patch or binding) in your accessories to make the whole look feel cohesive.










Leave a comment